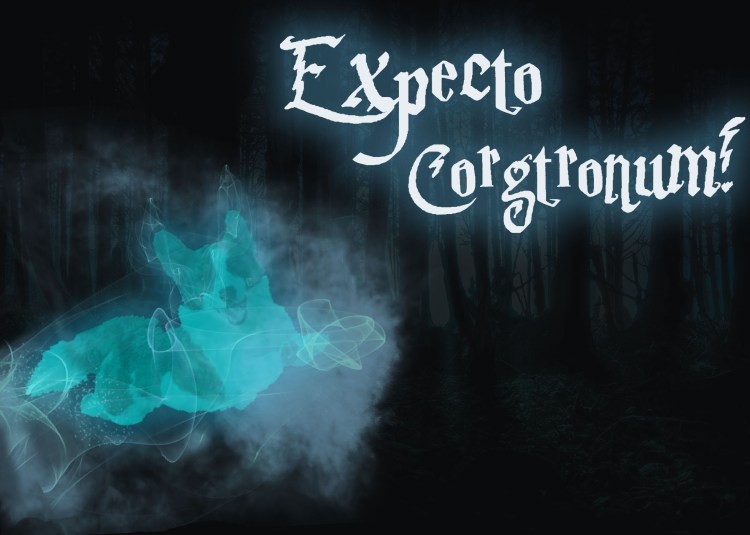
Here is your assignment:
- Find an image of a potential patronus.
- Next, find a dark background pattern or image for your patronus.
- Make a new base layer and use the Fill Tool to male this layer black.
- Use the Quick Selection Tool to cut out your patronus from his or her or their original background. Copy your solo patronus using the Select arrow.
- Now open your background. Copy and paste and Free Transform it over your black layer. (You’ll can adjust the layer’s opacity using the Blending Option menu to add darkness now or later).
- Next, paste and Free Transform your patronus pet on a new layer on your background. (You can also work on your patronus in a separate vector file if you like).
- Next, you’ll begin adjusting your patronus’s color, hue, and opacity using the Blending Options menu.
- While you’re here, add an Outer and Inner Glow effect to your patronus’s layer in Blending Tools. Choose any color your like for your patronus!
- Now it’s time to download and add some smoke or magic spell brushes for PS! Head to brusheezy and check out their free and fair use brushes! Once you’ve dowloaded the brushes you like, open the downloads and save them to your desktop. Next, open the Presents option from your “Edit” drop down menu. Add your new brushes using the “Load” button and save the sets you load!
- Recover from the trauma of all that complicated stuff you just did.
- NOW MAKE THAT PATRONUS MAGICAL!!! Create a new layer and use the brushes to create your desired magic smoke. Use the Outer Glow blending option to magic-ify the smoke layer.
- Now it’s time to add your unique patronus charm! Download and install the Parry Hotter Typeface and add your magic spell words using Type Tool.
- Add and Outer Glow to your text layer or layers.
- Adjust the opacity and lightness/contrast/etc of your background image if you need to and haven’t already by using the layer’s Blending Option menu.
- VOILA! You have made a laser pet. You’re welcome.

